How to place SAS Pillars and Blocks? Follow our advice and lift your fence in a few steps
Do you want another idea for a restyling of your home? Do you need tips to renovate the entrance of your place? Today we will show you how to combine some of the best-selling products from the SAS catalogue: Pillars and Blocks, and also their accessories for a good finish, Pillar Caps and Wall Coping.
With all of them, you can realize your projects easily and quickly without the need for specialized labour. Thanks to its tongue-and-groove system, the Pillars, Blocks, and other accessories will fit easily and securely, guaranteeing a perfectly polished and elegant finish.
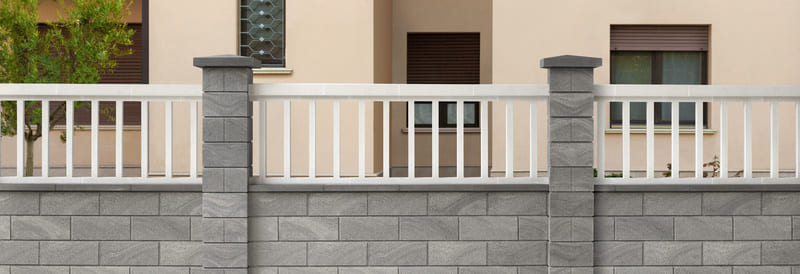
In the Pillars & Blocks section of our website, you can see all our models. There you will find an option that suits the aesthetics of your project. For example, the Smooth Pillars and Blocks line provides a clean and modern style and an impeccable finish.
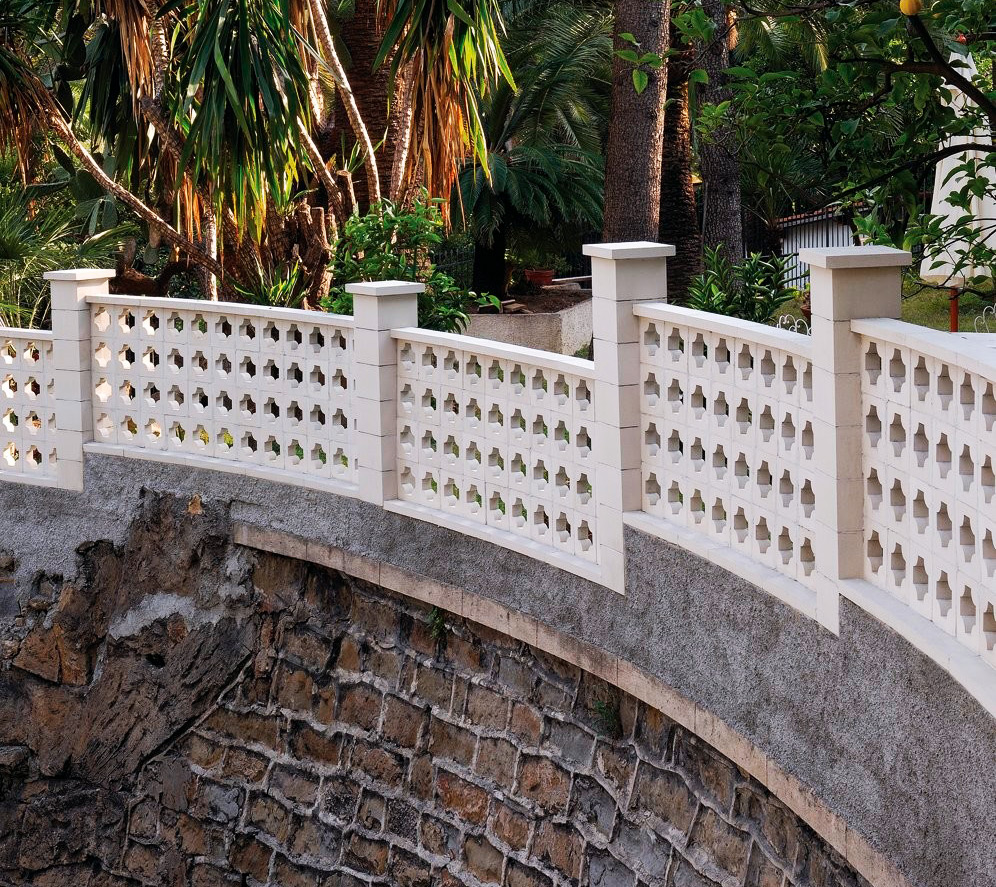
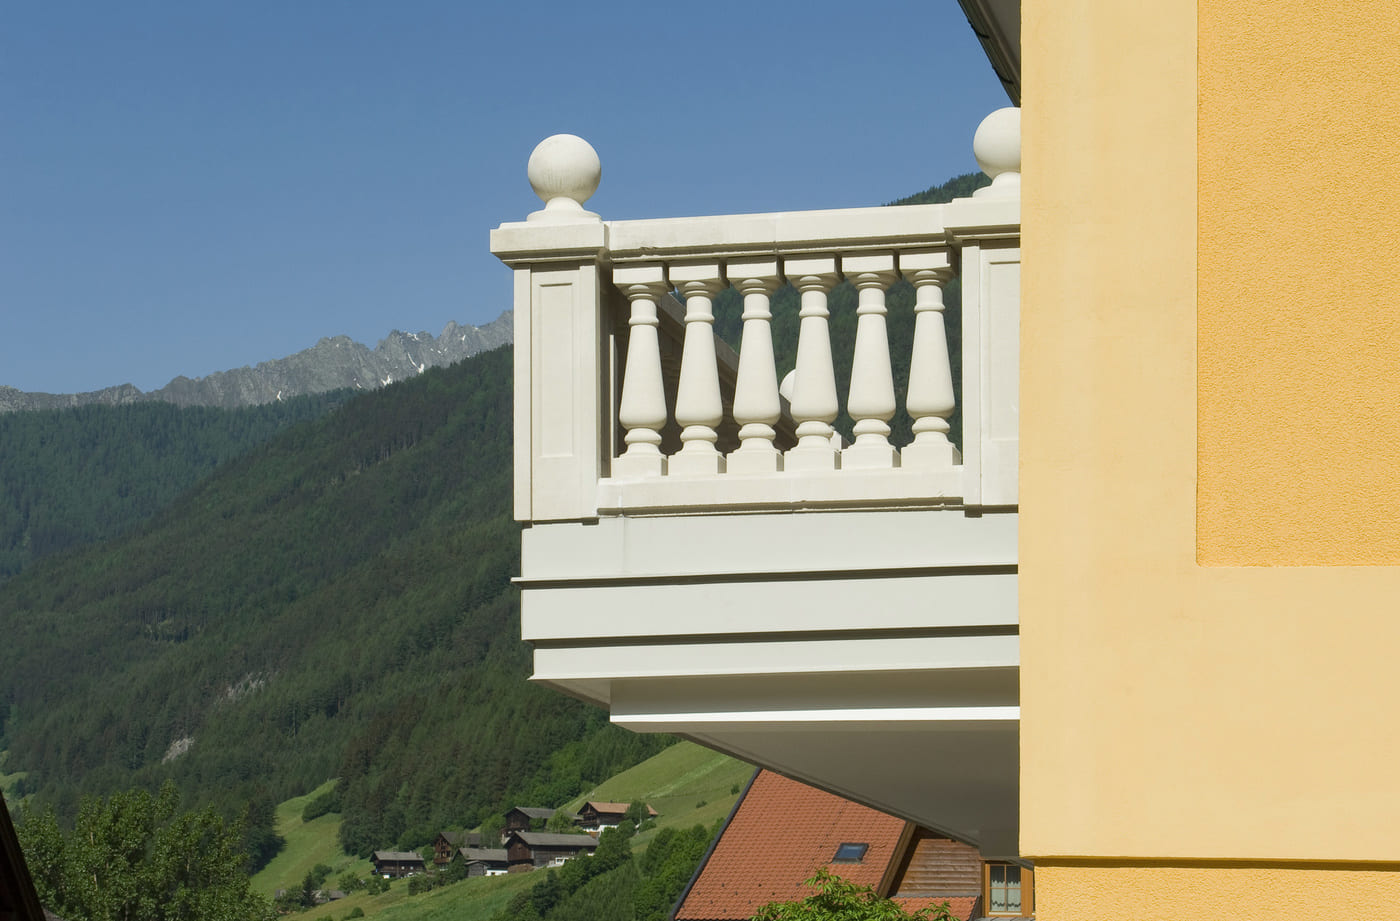
Our customers have also combined them with our Screenwalling and Balusters, demonstrating once again the incredible versatility of our products.

Combining our Pillars and Smooth Blocks will allow you to play with your enclosure’s visual and aesthetic continuity. In addition, with its height of 17.1 cm and weight of 11.20 kg, you can place them quickly. Our prefabricated systems are designed to optimize your time and effort, so you can build a fence quickly by stacking a few pieces. And remember that to finish off and polish the wall elegantly, you can use our SAS Wall Coping elements.
And how are the Pillars finished off?
For a correct finish of our Pillars, we recommend using our range of Pillar Caps. These are designed to finish off any Pilar SAS, protecting them from moisture and the direct action of atmospheric agents thanks to its throating.
In addition, they serve as surfaces where to place decorative elements, such as our Ornament, the Ball BD220.
And how to place them?
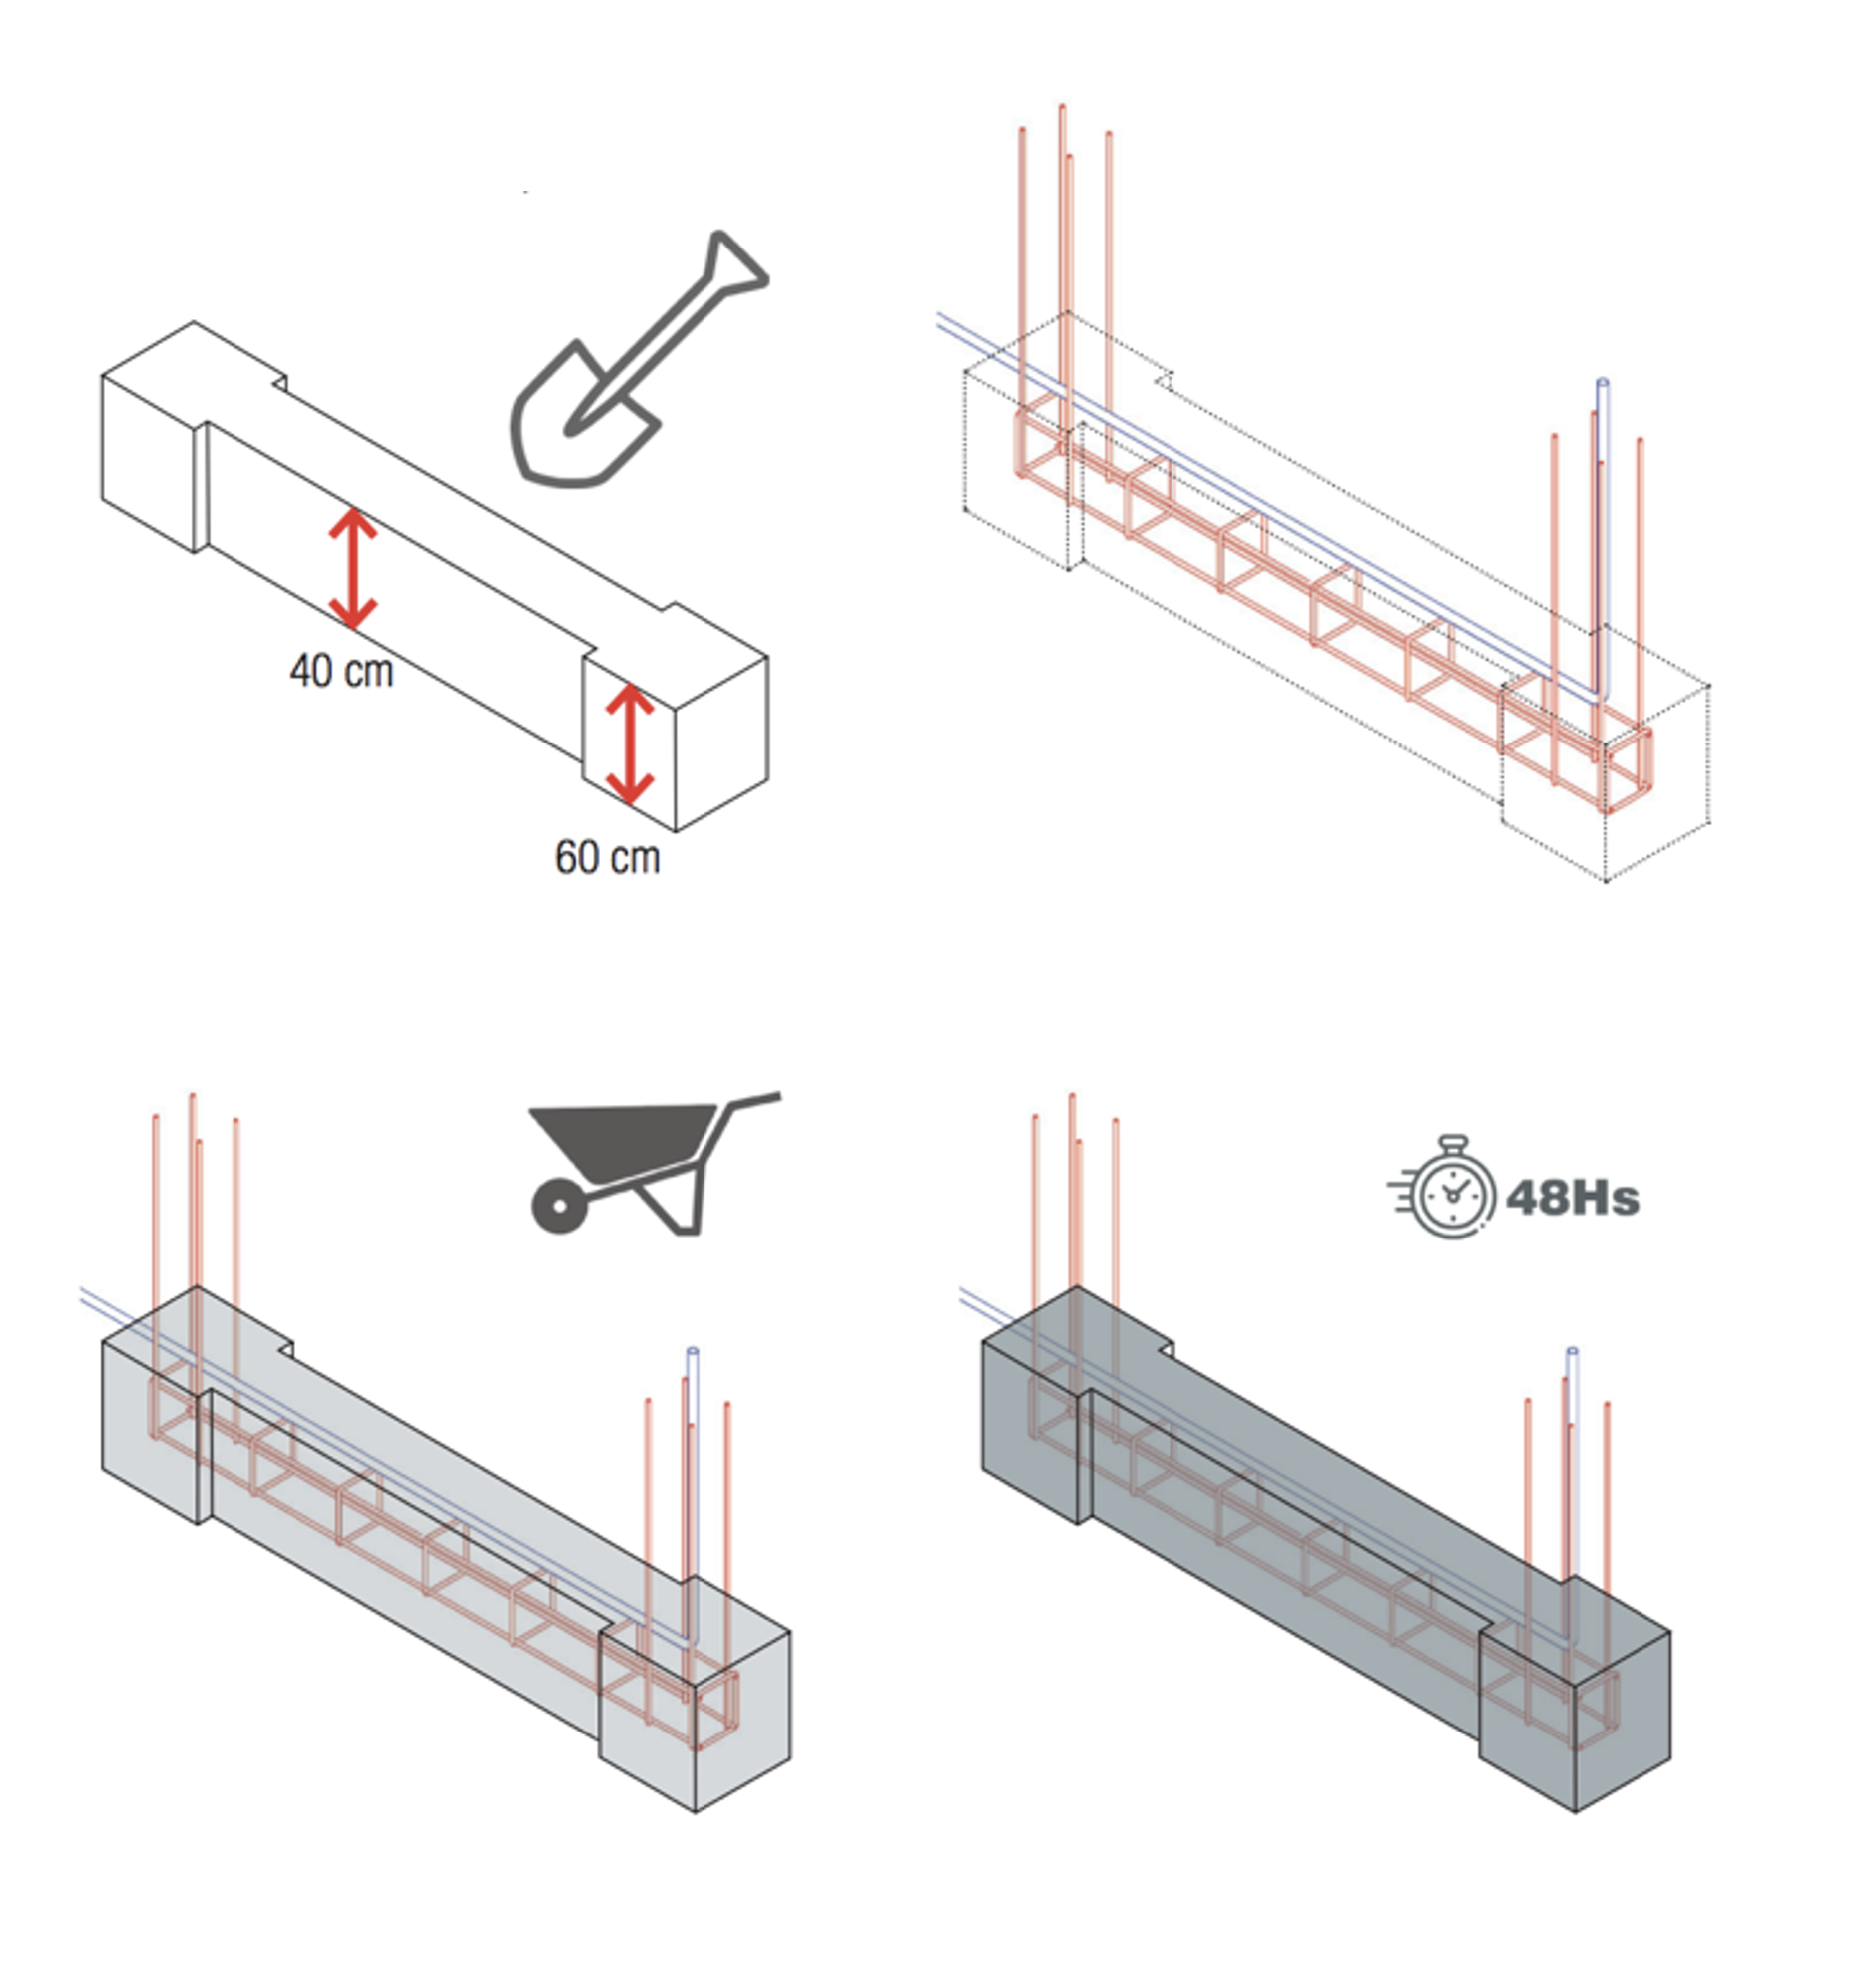
Once you have chosen the items you like the most, you will see that their placement is easy and comfortable. Do you want to lift your fence in a few steps? Follow our Placement Recommendations, and the result is assured! The first step is to prepare a trench for the foundations. At this stage, you will need precision and patience, but then everything will come alone. Create a trench with a depth of 60 cm for the Pillars and 40 cm for the wall to be made with our Blocks, place the rods of the armour and anchor them.
Finally, prepare the filling, pour and adjust the level with a ruler. Now you will have ready the perfect base to start your fence.
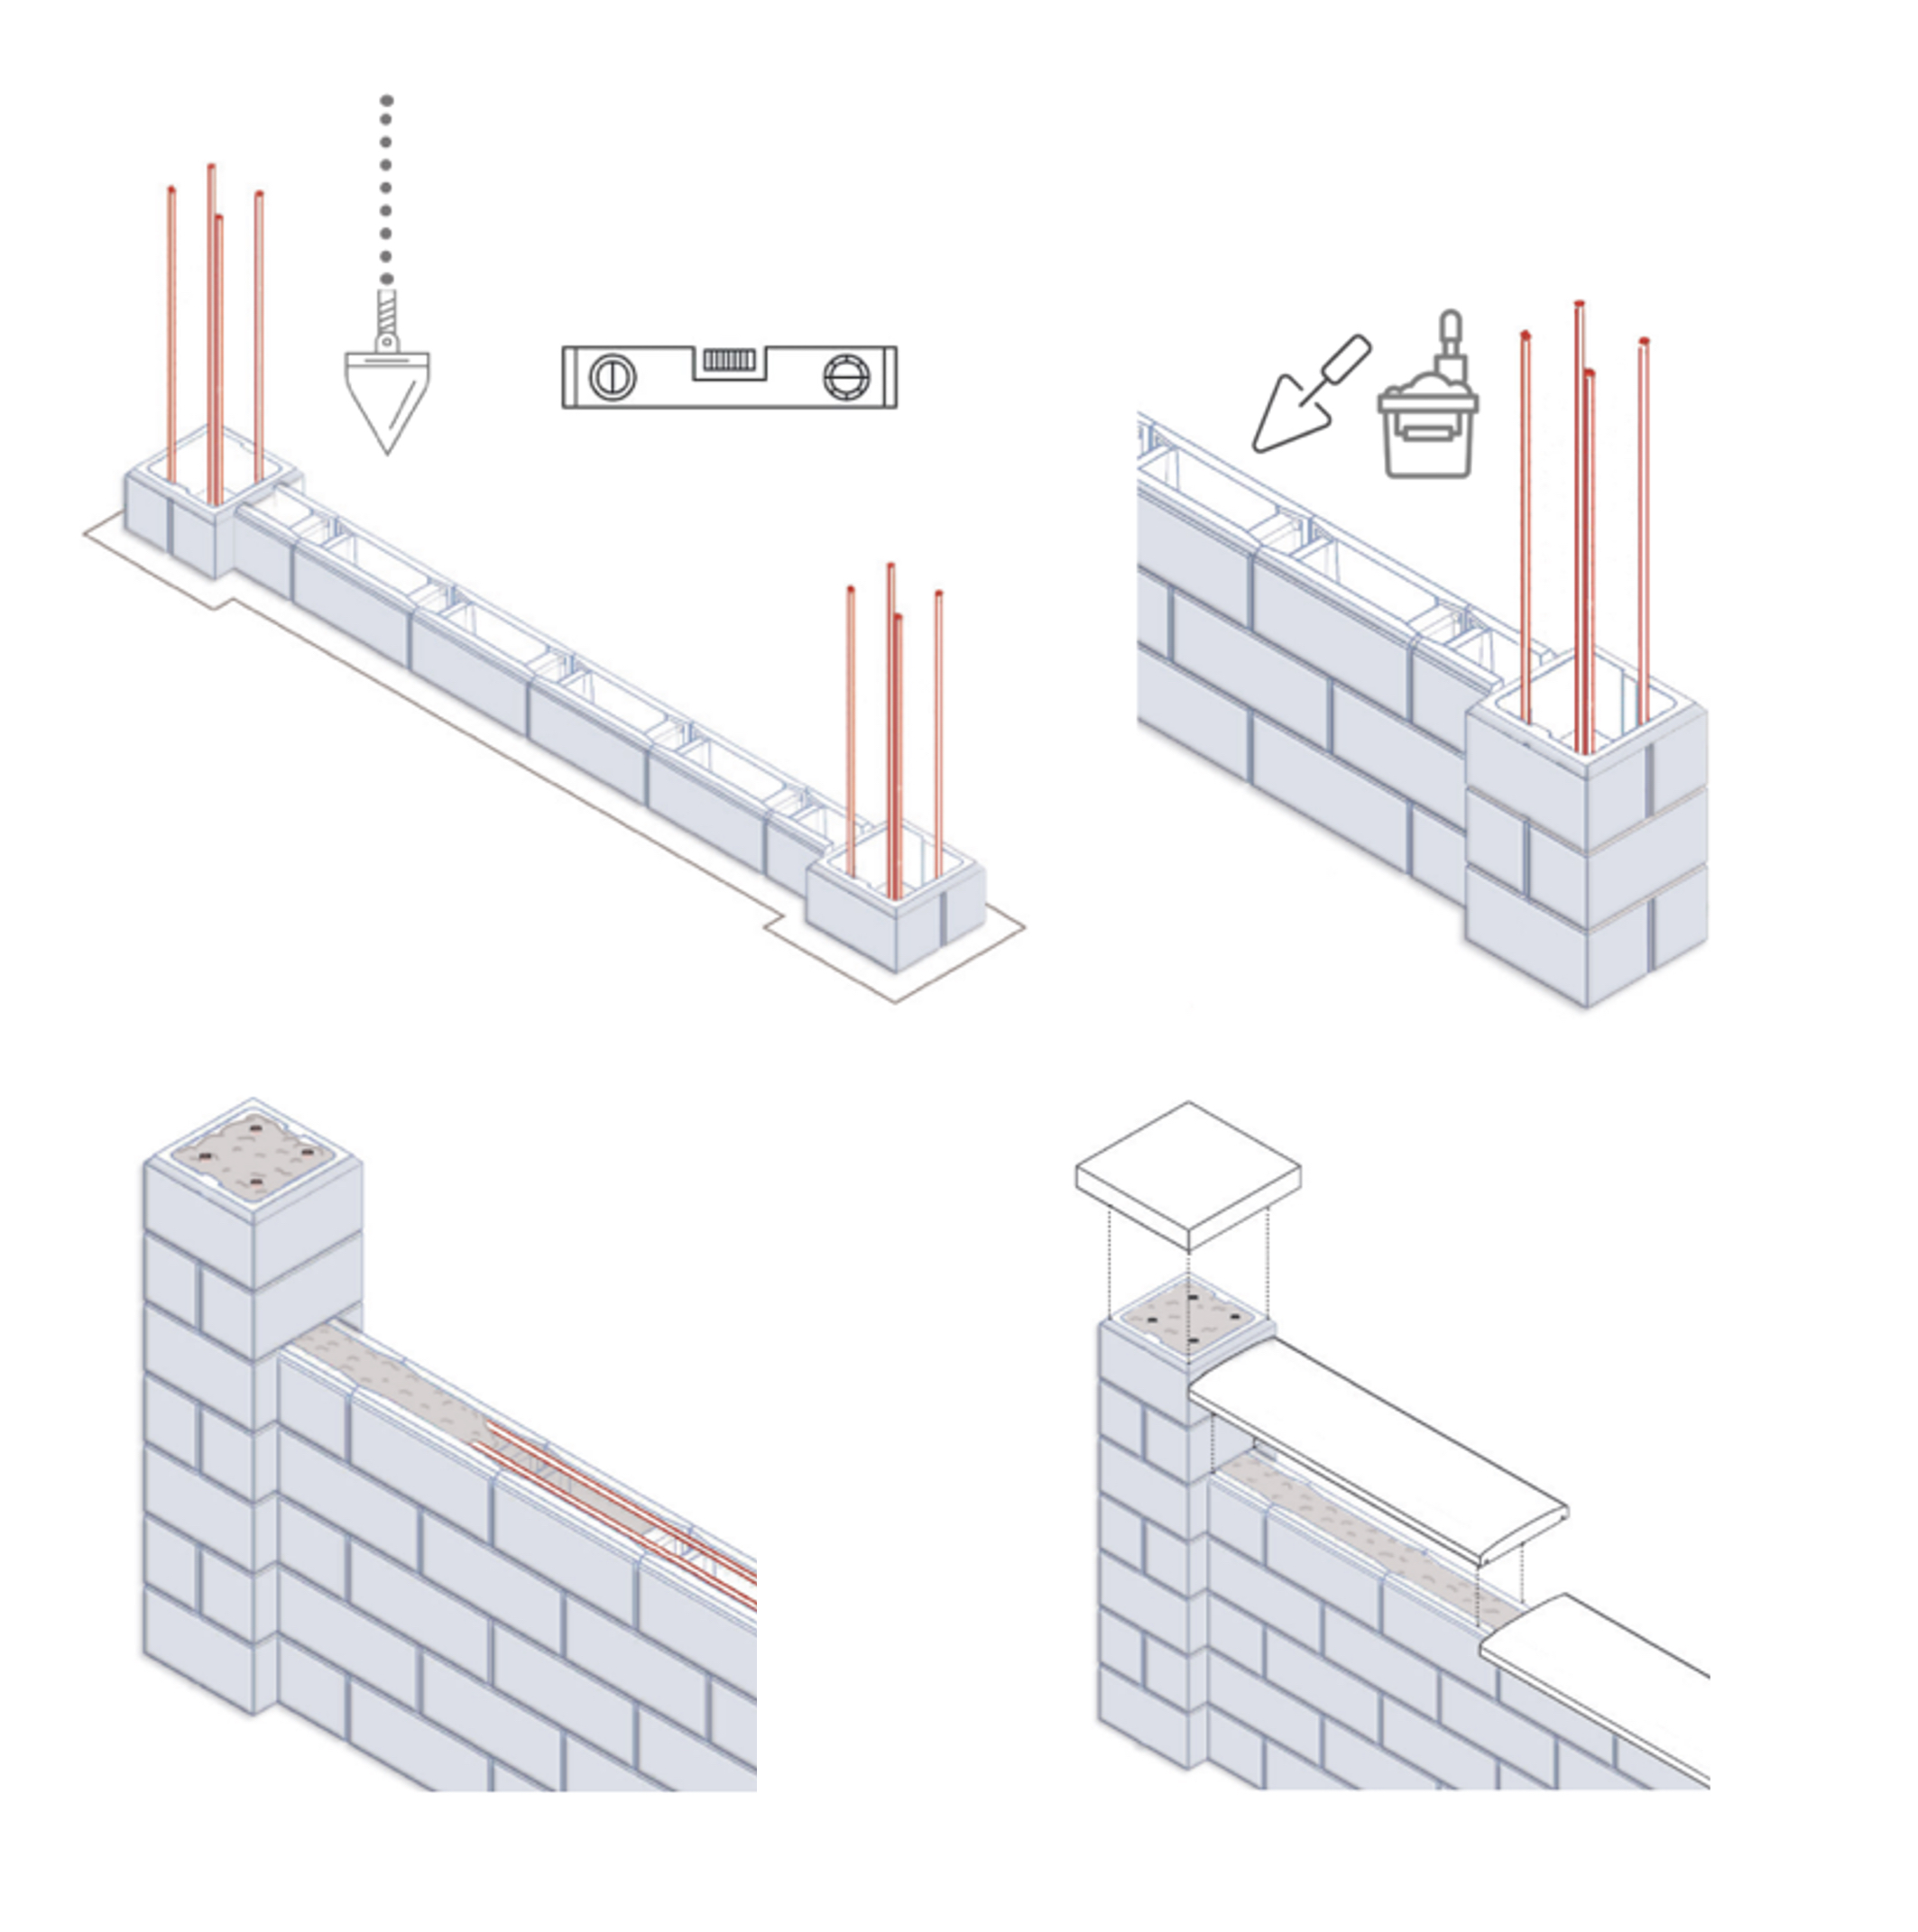
After 48 hours, you can start placing the Pillars and Blocks. First, start with the Pillars, making sure the pieces are well levelled. Then you have to pull a thread between the pillars to ensure a perfect alignment. From here, you can continue placing Pillars and Blocks simultaneously until you reach the desired height. Once achieved, only the Pillars and Blocks need to be filled with concrete and water and distributed evenly. Once dry, you can place the finishing pieces.
You can watch our video step by step and, if you have any questions, contact us, and we will help you solve them. Don’t wait any longer, and add value to your fence with SAS products